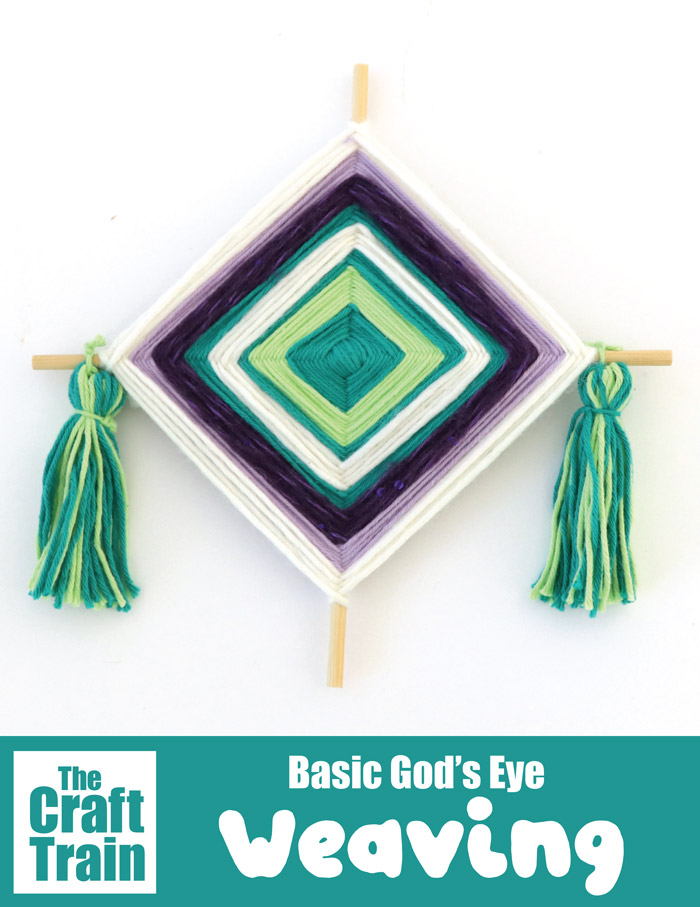
Make a traditional God’s eye craft using yarn and two sticks with our step-by-step tutorial.
God’s Eye weaving, or Ojo de Dios, is a simple weaving technique of Mexican origin which has spiritual significance to it’s original creators, the Huichol people of western Mexico. You can read more about the spiritual meaning here.

God’s Eyes are also popular the world over as a fun kids craft. Indeed, I have memories of making them myself as a kid from sticks I collected from our front yard.
We love making them at our house because they are so very easy and look gorgeous and colourful when finished.
You can extend the craft to use more sticks in the design, which gives you more a more complex pattern. In the past we’ve made a star shaped version for Christmas decorations, and our popular woven butterfly craft was also inspired by this weaving technique.
Older kids and adults can experiment with patterns, adding mores sticks and skipping every second stick to create different designs. Here is a very complex version made by a crafter on ETSY (just to show you how far you can go with God’s Eye weaving – obviously this would be way to tricky for kids!)
However, I really think you can’t go past the basic cross shape. It’s SO simple to do and my kids have loved making these ever since they were about 6 years old. It’s something they picked up quickly and chose to do on their own a lot!
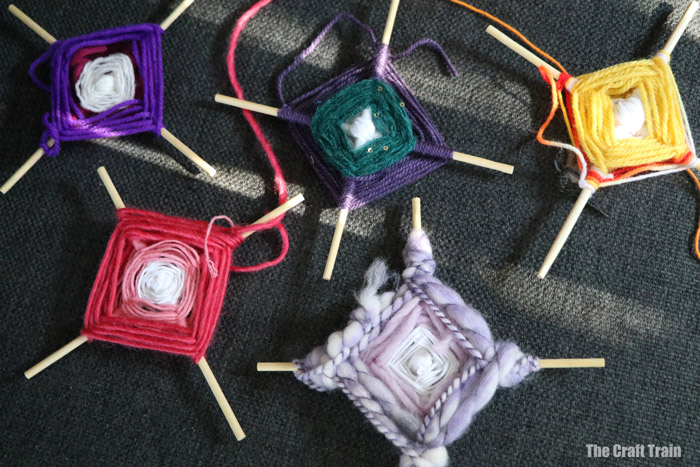
Here are a few God’s Eyes made by my kids in a single crafty afternoon (they only stopped making them because they’d used up all of my dowel rods!).
Because God’s Eyes are such a widely-known craft we’ve never shared a tutorial – but let’s give credit where credit’s due. Our crafts over the years have been influenced by this gorgeous weaving pattern, so I thought it was time we shared the original version!
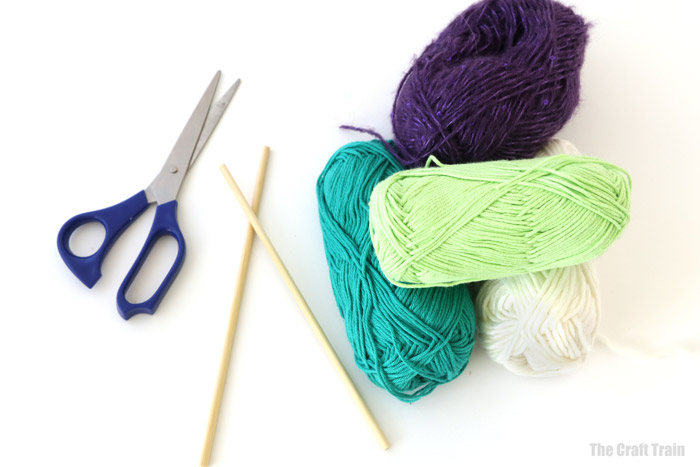
It’s always great to have a craft up your sleeve which can be made with a few simple materials. In this case, a few balls of yarn and two sticks.
Here’s how to make a God’s Eye…
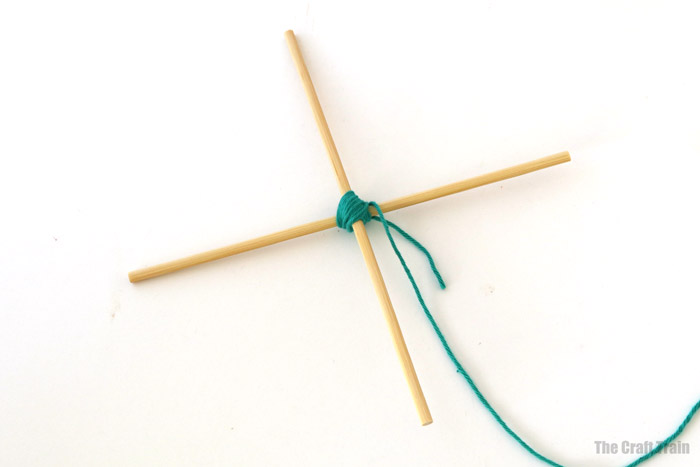
Hold your sticks in a cross shape and wrap yarn around it to keep the cross in shape.
Once the cross is secure, it’s time to begin the weave. Wrap the yarn thread around one stick once, then move on to the stick next to it and wrap it around that. Keep on going by wrapping the yarn around each stick in the cross and moving on in a circular pattern.
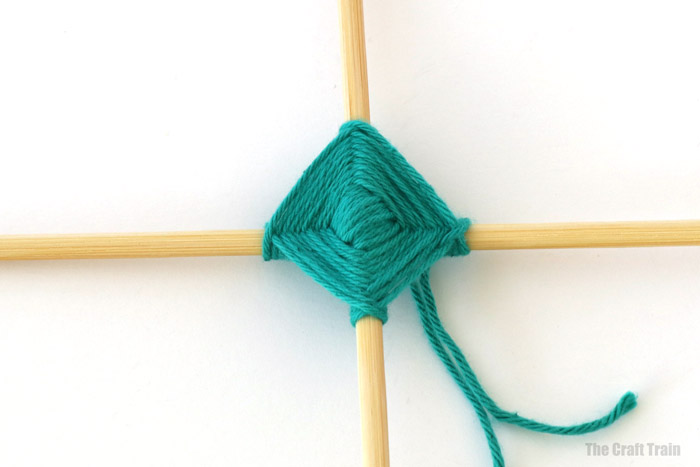
The back should look like this.
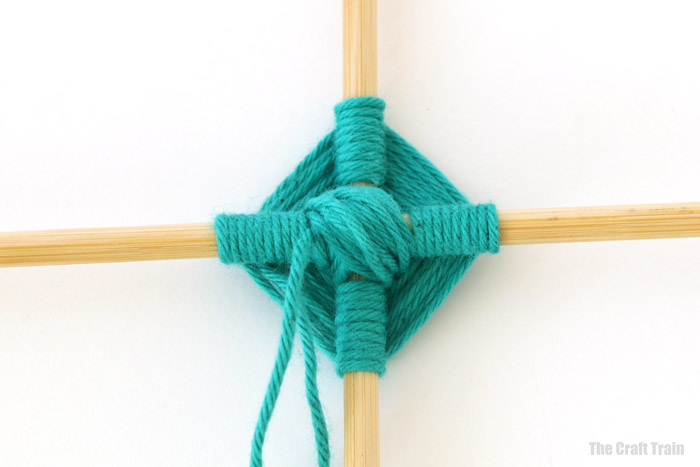
When you have a section of one colour yarn, you can begin to add in more colours.
Finish off your section by tucking the thread inside the last tight strand to stop it from unravelling. Then simply start the pattern again with another colour of yarn.
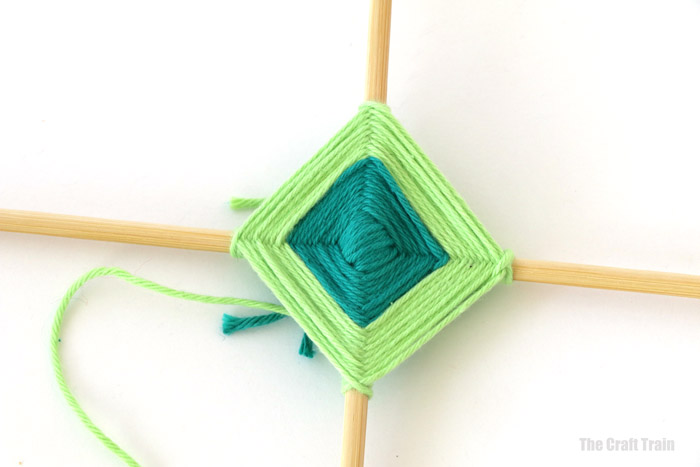
Continue on with adding different colours into the pattern until your God’s Eye has reached close to the edge of your sticks.
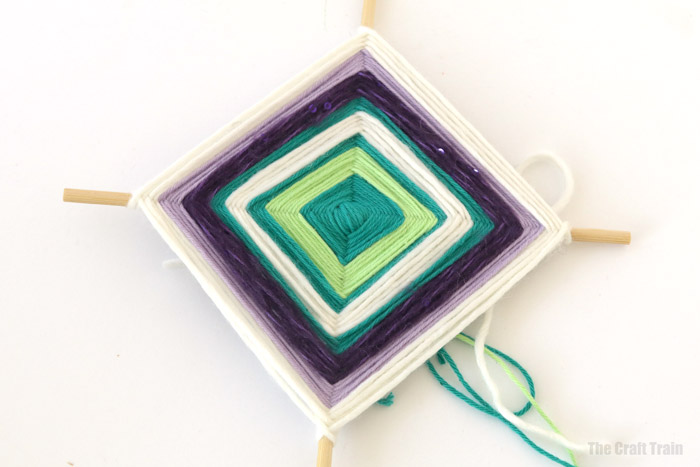
At this stage there will be a lot of long, loose threads hanging off the back. For the final section, you will need to tie the last thread to one of the previous last threads to stop your God’s Eye from coming undone.

Snip the threads to tidy up.
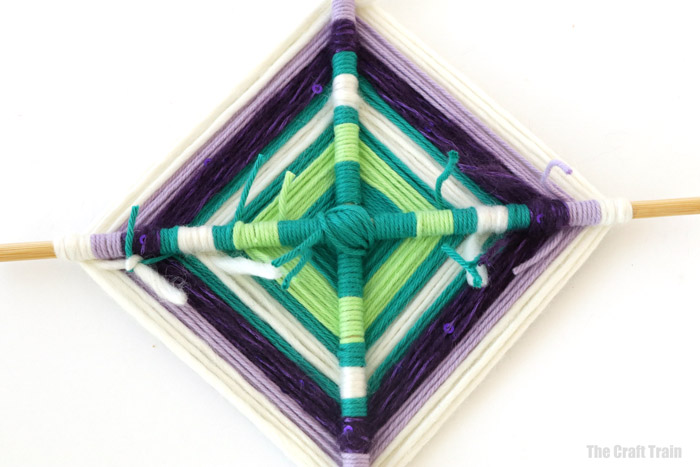
Optionally, you can add a tassel on each side of your weave.
Wrap yarn around a piece of scrap cardboard. You can see I’ve wrapped two colours around at once.
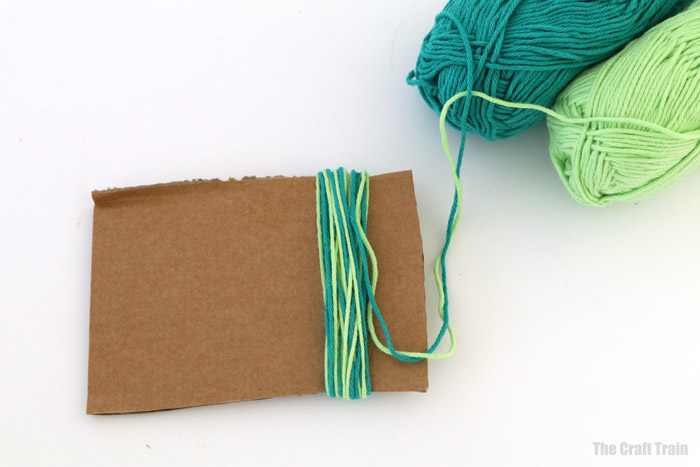
Slide the Tassel of the cardboard to get a fat “loop” of yarn. Tie this at the top with a small piece of yarn.
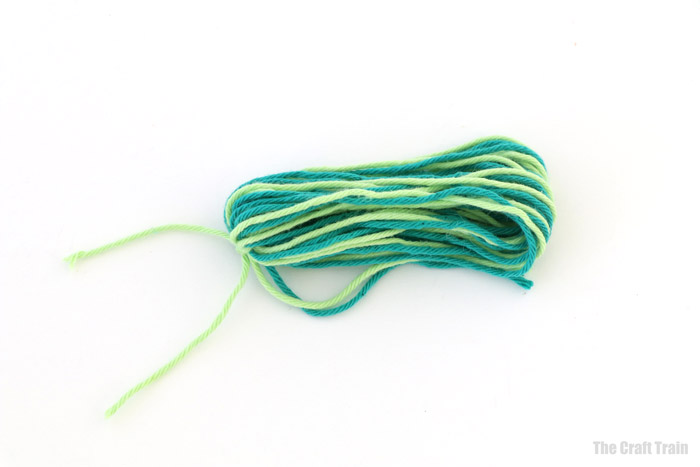
Snip the bottom end of the loop so you have a bunch of yarn tied in the middle.
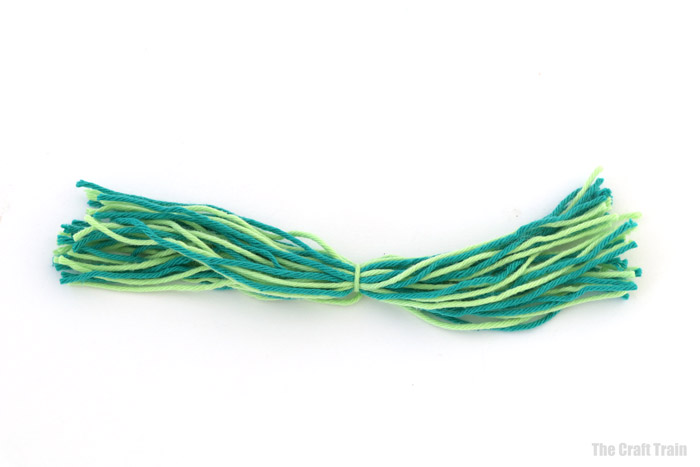
Push one side of the bunch around from the centre, so that it becomes rounded and covers the yarn tie in the centre.
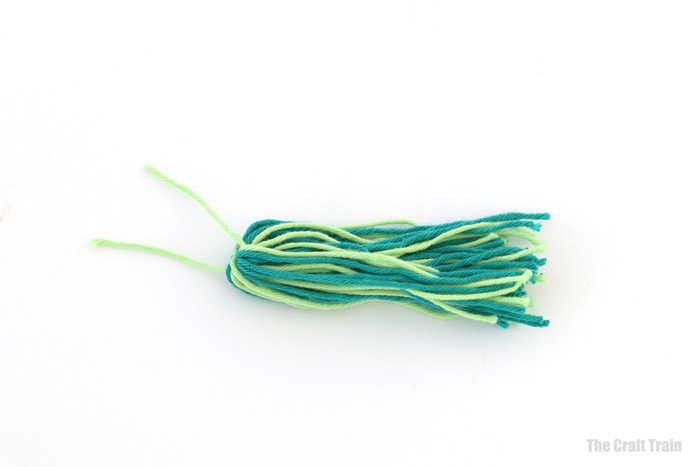
Tie a piece of yarn close to the top in a double knot, and trim the scrappy ends at the bottom creating a neat tassel.
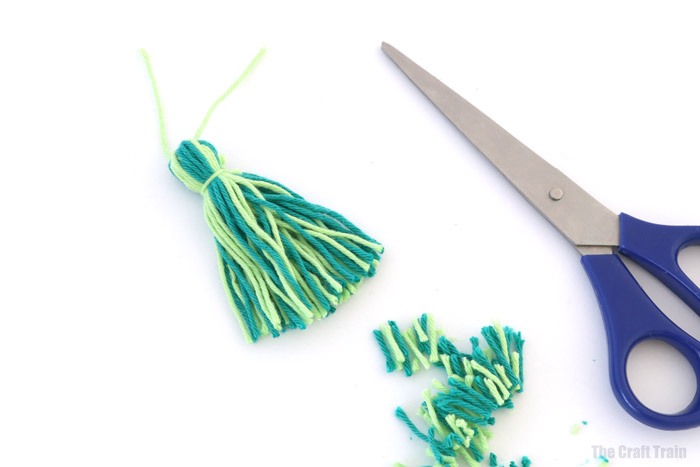
Create a second tassel the same and tie one on each side of the God’s Eye.
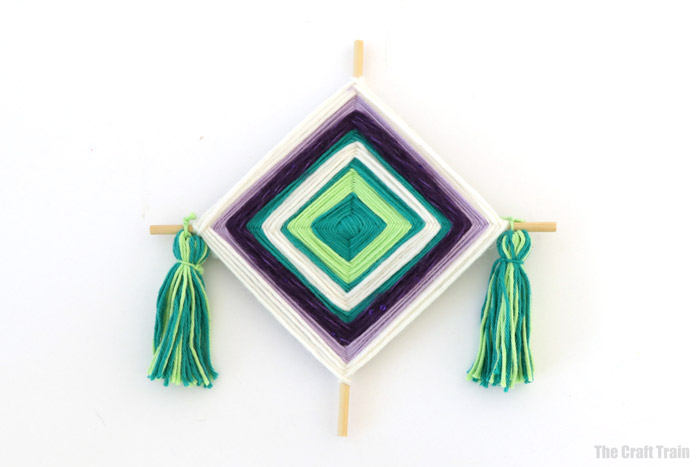
All done! Your God’s Eye will look great hanging on the wall.